
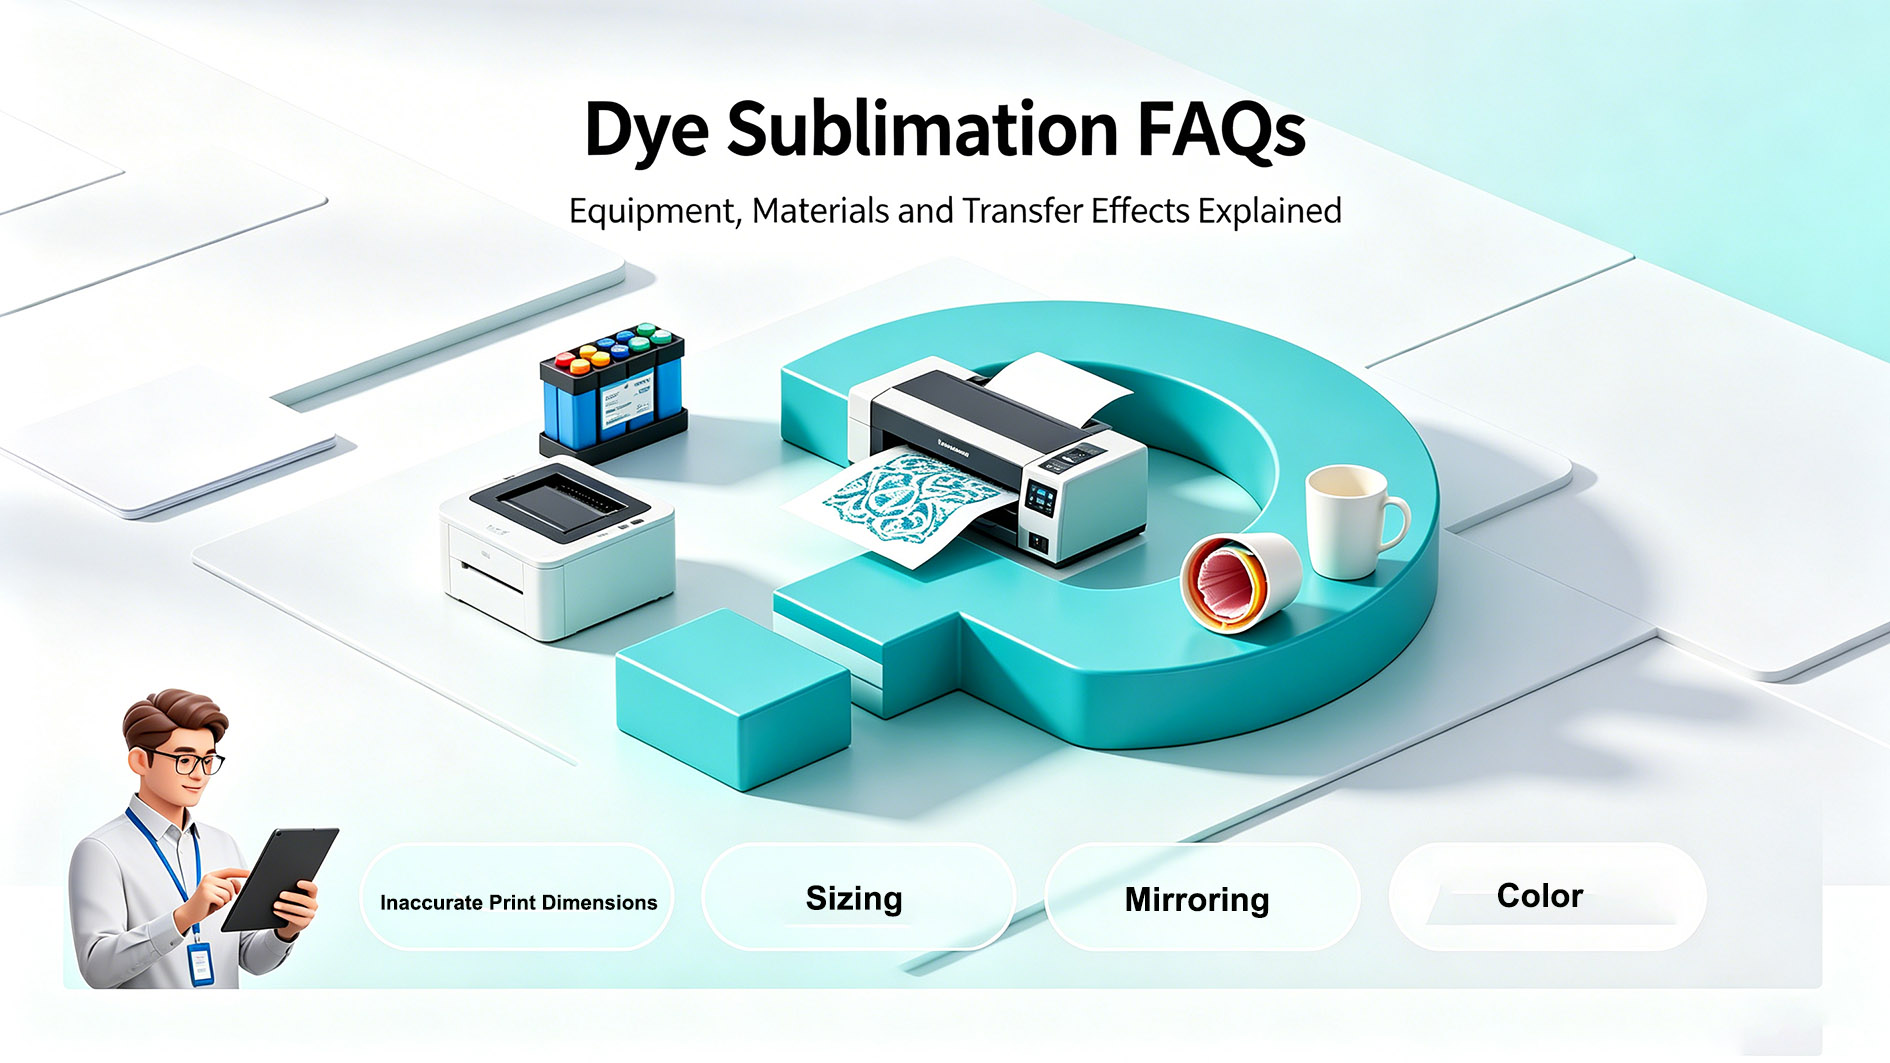


Are you just stepping into the sublimation printing business? You might have all your equipment, sublimation paper, and blanks ready, only to run into frustrating problems when you finally start production:
- The printed image size is inaccurate.
- The transferred design comes out backwards.
- The colors are completely off compared to your screen.
Don’t worry, these are common growing pains. Today, we’ll break down these four issues and give you proven, actionable solutions.
1. Problem: Inaccurate Print Dimensions
If you’ve set the correct size but the printout is wrong, the issue usually lies in your print settings.
The Fix:
Always use professional design software to handle your layout. For example, with an A4 printer:
- Create a new canvas in your design software (like Photoshop or Illustrator) set to A4 size.
- Resize your image to its precise dimensions and place it onto that A4 canvas.
- When printing, make sure the “Document Size” in your print settings is also set to A4.
Key Tip: For sharp results, always set your image resolution to 300 DPI or higher. This workflow guarantees a precisely sized print every time.
2. Pro-Tip: Adding Bleed to Your Design
If your final product is, say, a 15cm × 15cm coaster, your design dimensions should ideally be 15.3cm × 15.3cm.
Why the extra 2-3mm? This is called “bleed” in the printing industry. It acts as a safety margin because manual alignment isn’t pixel-perfect. If your image and substrate are the exact same size, the slightest misalignment will expose unsightly white edges. Enlarging the design slightly ensures complete, edge-to-edge coverage for a professional finish.
3. Problem: The Transferred Image is Mirrored
This almost always happens because you forgot to enable the “Mirror” setting before printing.
Two Quick Fixes:
- For Design Software Users: Simply flip your finished layout horizontally (mirror it) in the software before sending it to print.
- For Direct Printers: In your printer’s preferences or advanced settings, look for and check the box labeled “Mirror Image” or “Horizontal Flip” before printing.
This simple step ensures your design appears right-reading on the final product.
4. Challenge: How to Fix Color Mismatch
Color deviation is a classic challenge in digital printing. Here’s how to systematically troubleshoot it:
- Step 1, Compare Correctly: Never compare your screen to the sublimation paper directly. The ink’s true color only appears after it’s heat-pressed. Always press your transfer onto the final product first, and then compare that result to your original on-screen image.
- Step 2, Check Hardware: If the pressed product’s color is still way off, check your printer’s nozzles first. Print a nozzle check pattern to see if there are any clogged lines. If there are, run a printhead cleaning cycle and try again.
- Step 3, Manual Color Adjustment: If the hardware is fine, you can make manual corrections. Analyze the printed product versus the original. Identify the color cast (too red, too yellow, too cyan) and then reduce that specific color value in your image settings or printer driver.
- The Professional Solution: For true color accuracy, the ultimate fix is to generate a custom ICC color profile specifically for your combination of printer, ink, and paper. This hardware-level calibration ensures what you see on screen is what you get on the product.
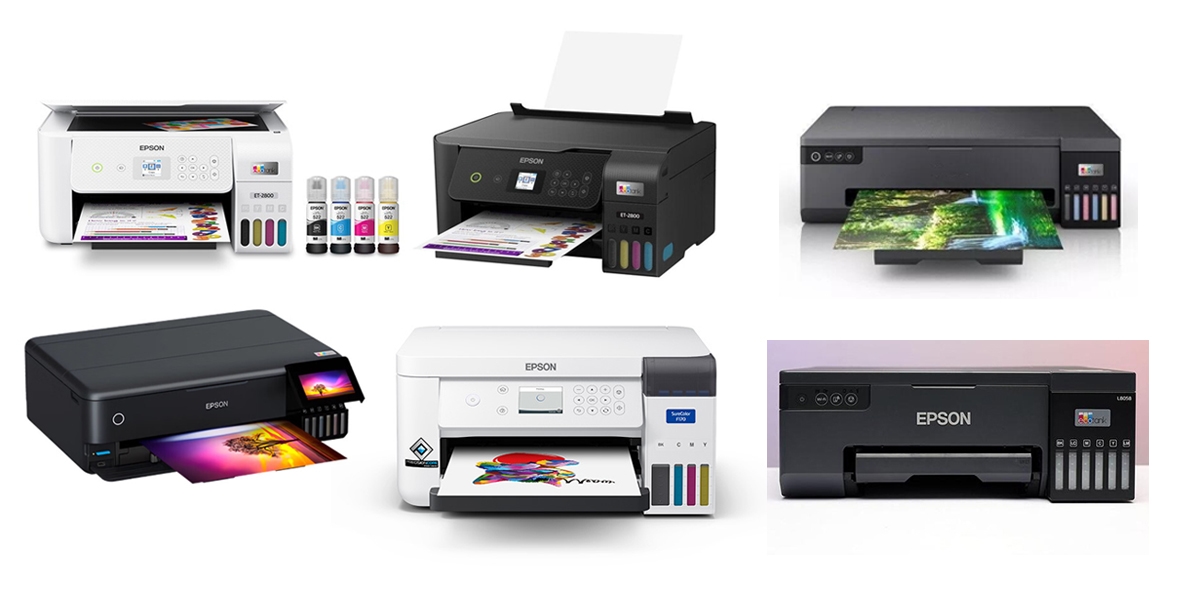
Shop Supplies: Beyond the printer itself, the quality of your consumables makes or breaks the final product. From sublimation paper and ink to transfer film, we’ve handpicked high-performance, budget-friendly options for you. Explore Our Sublimation Supplies Collection to get everything you need in one place.
These four key areas cover the most common hurdles for anyone new to dye-sublimation printing. Have you encountered any other roadblocks, or do you have a clever workaround to share? Drop a comment below and let’s elevate the craft together!